Understanding Time Lapse Videography
Time lapse videography is a specialized technique that captures a sequence of images at set intervals over an extended period, which are then played back at a standard frame rate to create the illusion of accelerated motion. This approach allows viewers to observe processes that unfold slowly over time, such as the movement of clouds across the sky, bustling city streets, or the changing colors of a sunset, all condensed into a few seconds or minutes of footage.
The primary purpose of time lapse videography is to highlight the progression of natural or urban environments in a visually compelling manner. It effectively showcases transformations that are subtle or imperceptible to the naked eye when observed in real-time. For instance, a construction project can be documented from foundation to completion, providing a powerful visual story of progress. Similarly, landscapes can be captured over hours or days to demonstrate changing weather patterns or natural phenomena.
This technique differs significantly from standard videography, which typically records continuous motion without intentional time modifications. While regular videos depict events in real time, time lapse manipulates the perception of time, compressing lengthy durations into brief sequences that highlight development and change quickly. This method requires precise planning and execution to ensure that the intervals between shots are optimal for the desired narrative effect.
In essence, understanding the concept of time lapse videography is foundational for creating compelling visual content that emphasizes change over time. It combines photography, videography, and editing techniques to produce an engaging motion picture that provides new perspectives on familiar scenes or highlights phenomena that unfold gradually. When executed with technical proficiency and meticulous planning, time lapse videography becomes a powerful storytelling tool for professionals, filmmakers, and content creators alike.
Equipment Needed for Time Lapse Shots
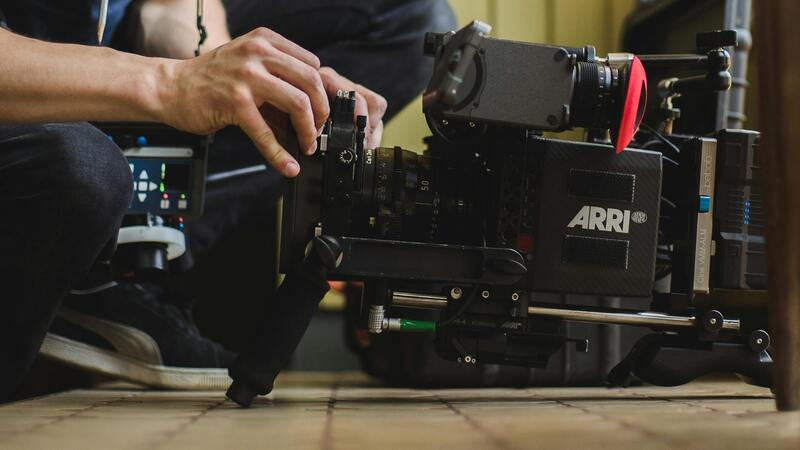
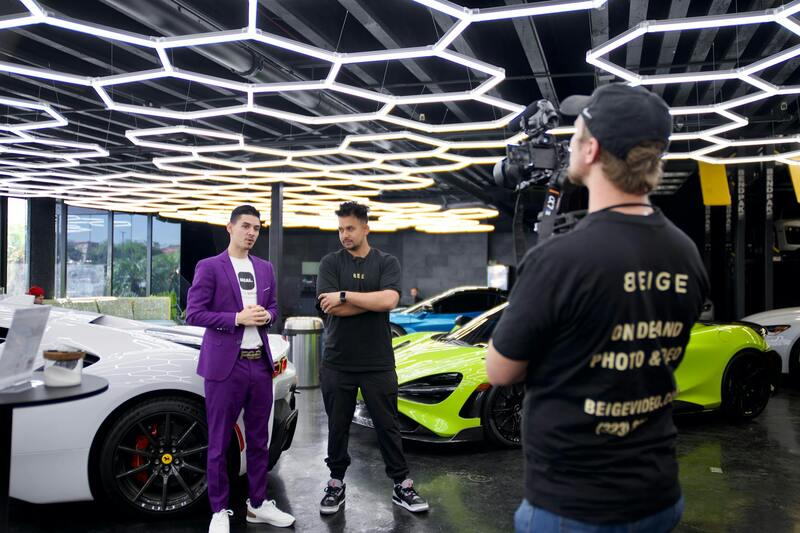
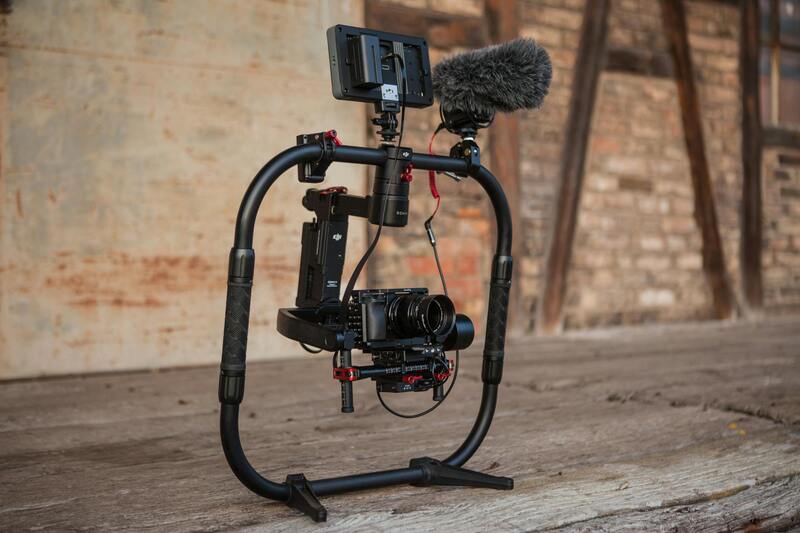
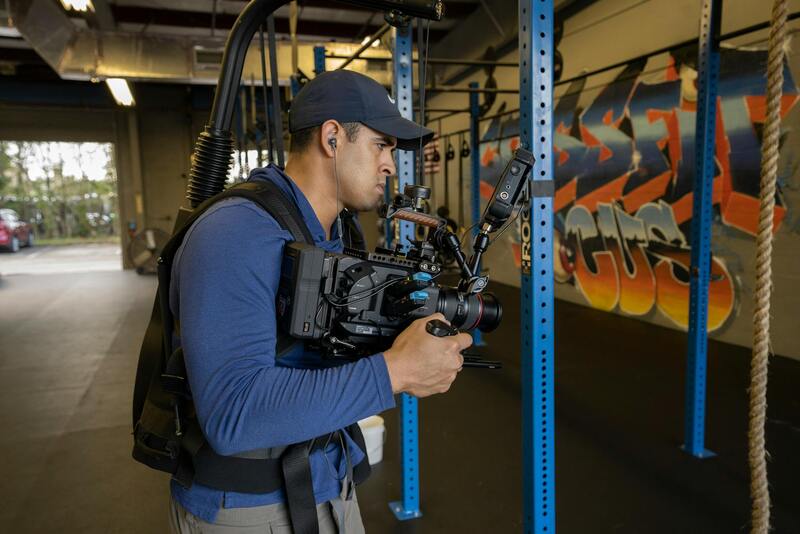
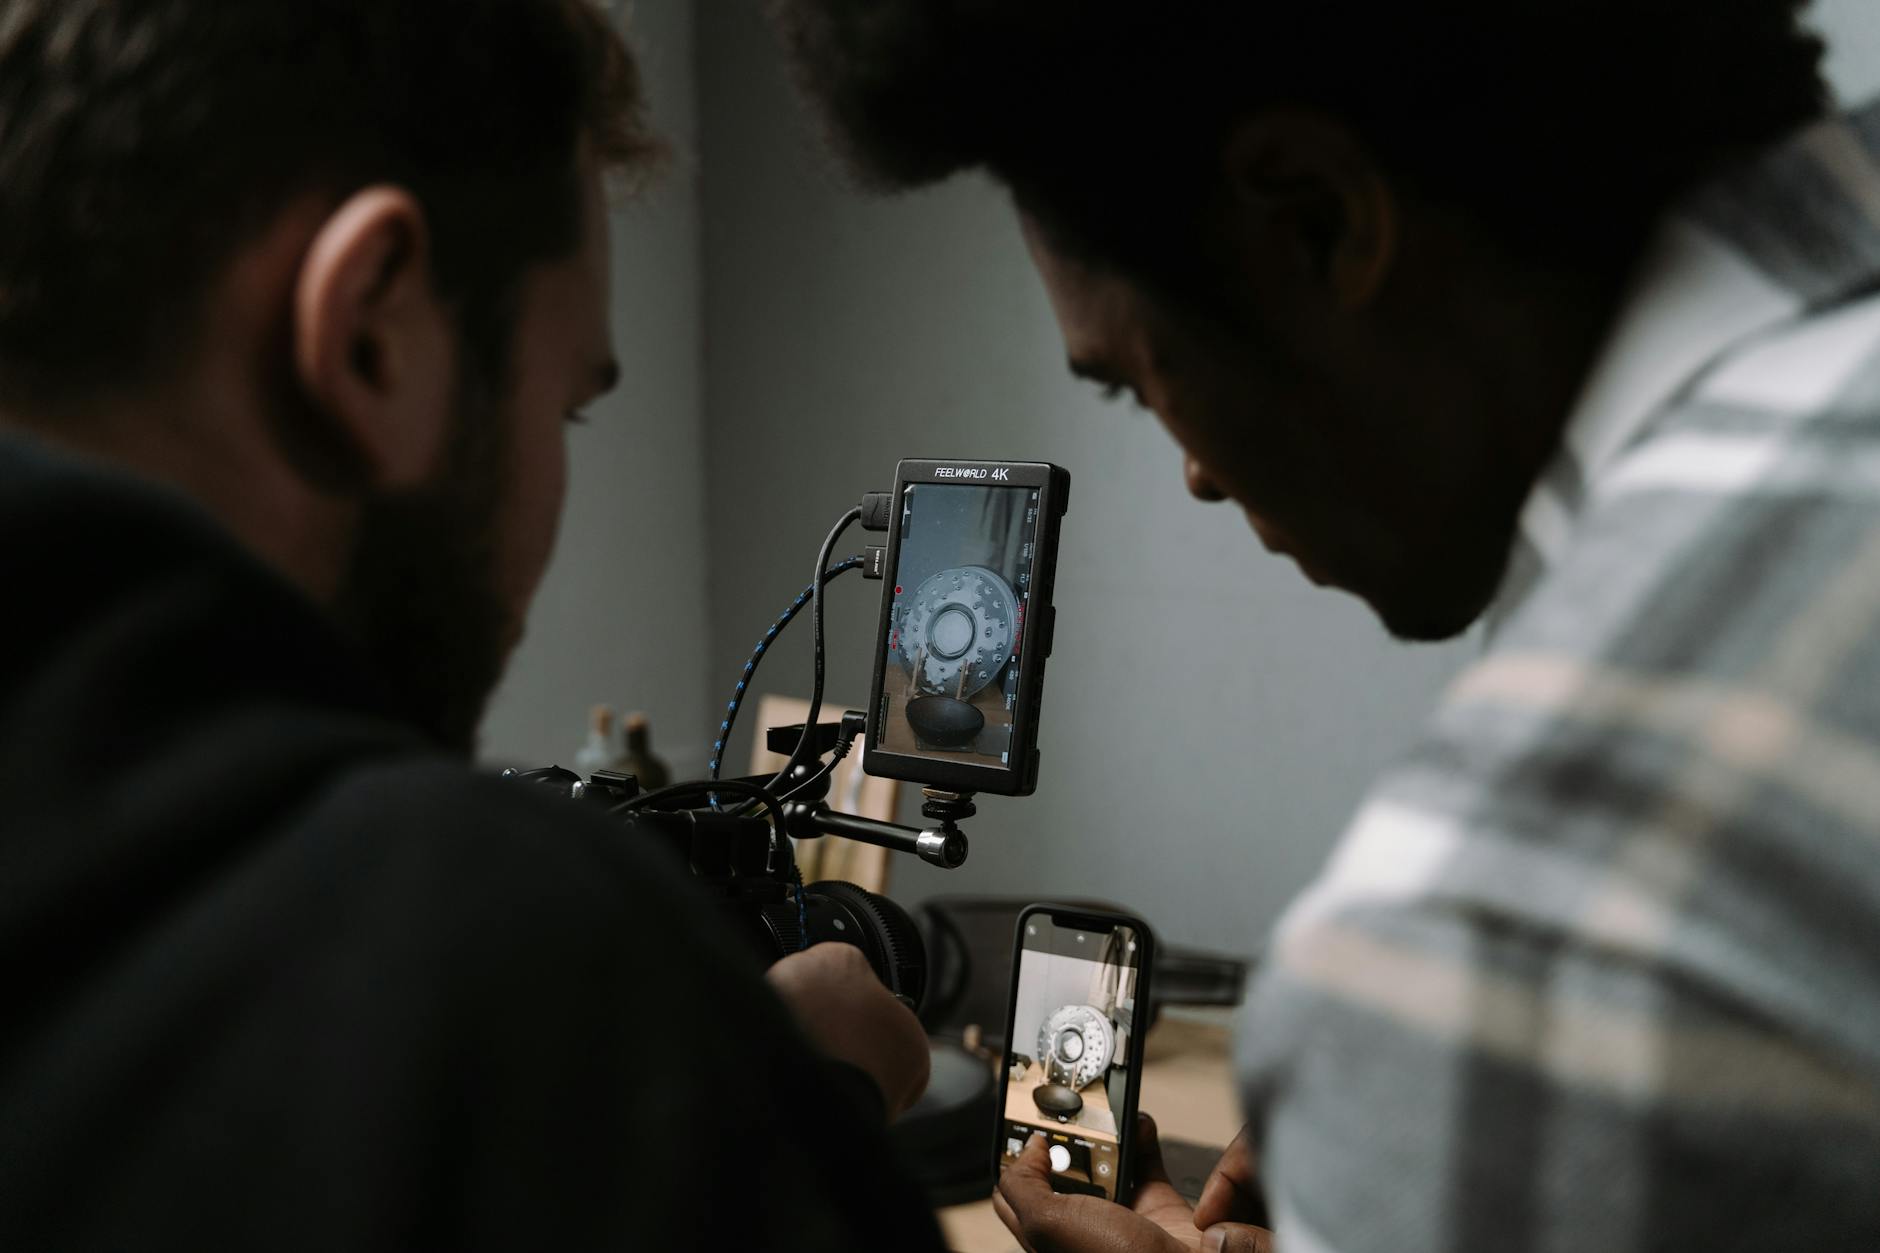
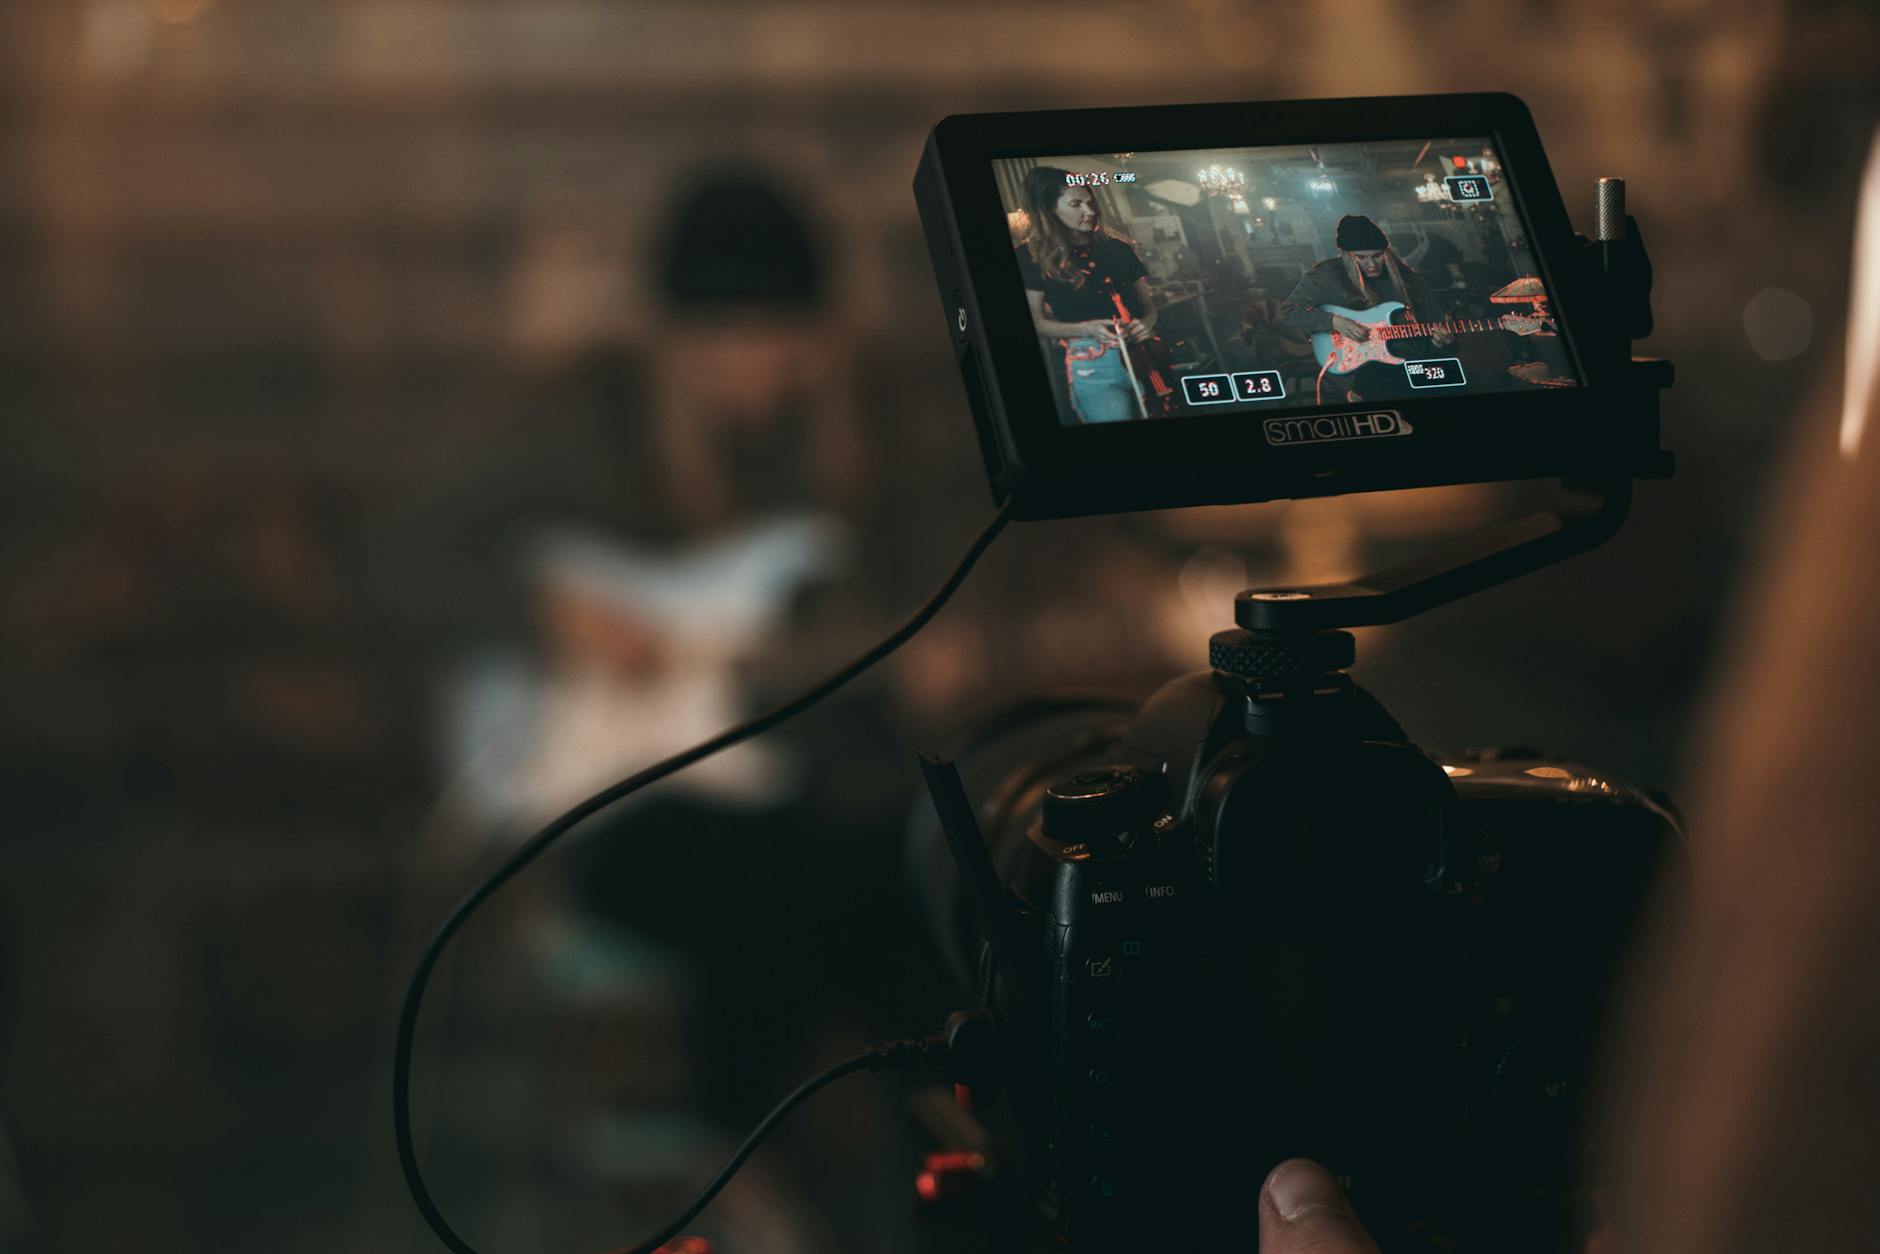
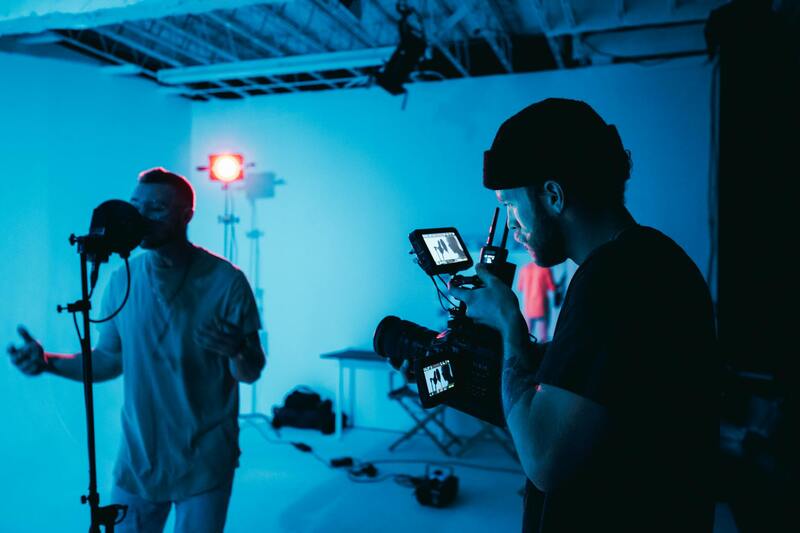
Successful time lapse videography hinges on selecting the right equipment to ensure consistent, high-quality results. At its core, the equipment set includes a reliable camera capable of manual controls, a sturdy tripod to maintain stability during extended shoots, and an intervalometer or interval timer that automates the capture process. High-resolution cameras equipped with manual exposure settings are preferred, as they allow precise control over shutter speed, aperture, and ISO, which are crucial for maintaining consistent exposure throughout the sequence.
Additional accessories can enhance the quality and ease of shooting. For instance, neutral density (ND) filters are invaluable when filming in bright conditions, enabling longer exposures to achieve desired motion blur or smoothness. A weatherproof casing or protective housing might be necessary for outdoor shoots, protecting expensive equipment from elements such as rain, dust, or wind.
Wireless remote controls can also help mitigate camera shake when adjusting settings or starting/stopping recordings during complex shoots. Additionally, spare batteries and ample memory cards ensure uninterrupted operation for long recording sessions. For advanced projects, some videographers prefer motion control rigs or motorized sliders, which allow programmable camera movements for dynamic time lapse sequences with panning, tilting, or zooming effects.
Compatibility and Technical Specifications
Ensuring that your equipment is compatible and capable of handling the required technical specifications is fundamental. Cameras should support RAW or high-bitrate video formats for maximum image fidelity, especially when post-processing and color grading are involved. They should also have long battery life or alternative power options, such as AC adapters or supplementary batteries, to sustain extended shoots.
- Manual control over exposure settings
- Ability to shoot in high resolution (4K or higher)
- Support for intervalometer connectivity or built-in interval recording
- Robust stabilization features or external stabilization equipment
Choosing the right gear tailored to the project’s scope and environmental conditions can significantly impact the success and visual appeal of a time lapse video. Whether capturing urban landscapes, natural phenomena, or construction processes, investing in appropriate tools ensures clarity, continuity, and cinematic quality in the final product.
Techniques and Best Practices in Time Lapse Videography
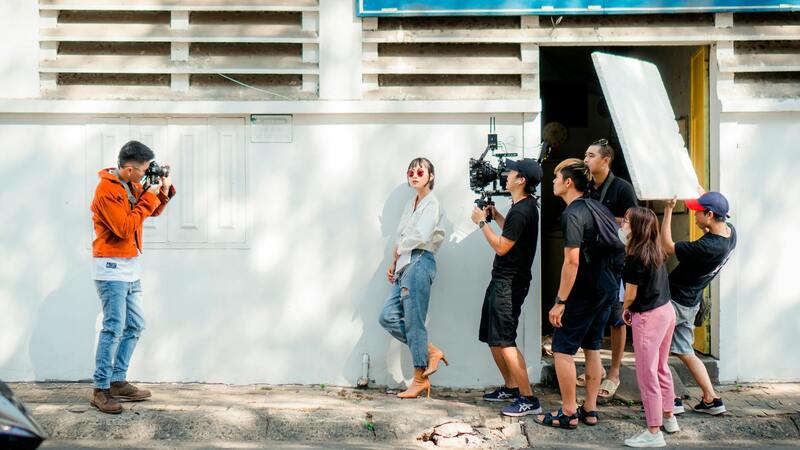
Implementing effective techniques and adhering to best practices are essential for creating compelling time lapse videos that engage viewers and accurately depict the passage of time. One of the foundational steps involves meticulous shot planning. Decide on your subject, the timeframe, and the environmental conditions that might affect your footage. For instance, capturing a bustling Miami skyline during sunset requires precise timing to highlight the city's vibrant nightlife and illuminated architecture.
Camera placement is equally crucial. Place your camera on a stable, vibration-free surface or utilize sturdy mounting equipment such as tripods or fixed mounts. When working in outdoor locations, weatherproofing your gear against elements like humidity and wind ensures consistent footage. Additionally, consider the composition by applying principles of framing and rule of thirds to maintain visual interest throughout the sequence.
Interval settings determine the pacing of your sequence. Shorter intervals (e.g., 1-3 seconds) are ideal for capturing rapid changes such as busy city streets or crowds, while longer intervals (e.g., 15-30 seconds) suit gradual phenomena like cloud movement or plant growth. Experimenting with different intervals helps achieve the desired effect and smoothness.
Environmental considerations, especially in a dynamic city like Miami, must include checking weather forecasts and adjusting your plans accordingly. Overcast days can diffuse sunlight, affecting exposure, whereas bright, sunny conditions demand careful filtering or exposure control to prevent overexposure. Planning your shoot during times of low wind and low traffic can reduce unwanted vibrations and noise, resulting in clearer footage.
Advanced Techniques and Optimizing Your Workflow
For seasoned videographers aiming for cinematic quality, incorporating motion control rigs or motorized sliders enables precise, programmable camera movements. This allows for dynamic shots such as panning over Miami’s skyline or zooming into architectural details, adding a layer of professionalism to the sequence. When combined with high dynamic range (HDR) capturing techniques, these methods can produce time lapse videos with rich detail and vibrant colors.
Post-shoot, managing your footage efficiently is key. Organize image sequences with clear naming conventions and back up your files securely. During editing, adjusting frame rates and applying stabilization can improve motion fluidity. Color grading enhances the visual style, whether emphasizing the warm tones of a Miami sunset or the cool hues of nighttime cityscapes. Exporting in high resolution formats ensures your sequence retains clarity, especially if intended for large displays or commercial use.
Consistency in execution and attention to detail during both the shooting and editing phases can significantly elevate the final product. The nuanced application of exposure, stabilization, and timing metrics ultimately results in a visually engaging narrative that captures the essence of Miami's evolving urban and natural scenery.
Techniques and Best Practices in Time Lapse Videography
Achieving high-quality time lapse footage requires a combination of technical precision and artistic insight. Key techniques include selecting optimal camera settings, employing effective stabilization methods, and adopting creative shooting approaches to enhance the visual storytelling of Miami's vibrant scenery.
Optimal Shooting Techniques and Camera Settings
To capture smooth and compelling time lapse sequences, start with manual exposure settings. Use the lowest ISO possible to reduce noise, and set the aperture to achieve the desired depth of field. Adjust shutter speed to be roughly double the frame rate, adhering to the 180-degree shutter rule, which ensures natural motion blur. For scenes with high contrast, such as Miami’s bright beaches or city lights, utilizing graduated ND filters or bracketed exposures integrated through HDR techniques can prevent overexposure or underexposure issues.
Effective Stabilization Methods
Vibrations and unwanted camera movements can significantly detract from the professional quality of time lapse videos. Implement sturdy tripods or gimbals to maintain stability throughout the shoot. For longer periods or outdoor environments prone to wind or vibrations, vibration-absorbing mounts or sandbags can provide added stability. Utilizing motorized sliders or motion control rigs allows for precise, programmable camera movements, creating dynamic perspectives such as slow pans over Miami’s bustling streets or sweeping architectural shots.
Creative Approaches to Enhance Visual Impact
Experimenting with different intervals and frame counts can dramatically influence the mood and storytelling aspect. Shorter intervals are ideal for capturing fast-moving scenes like traffic flow or bustling crowds, whereas longer intervals suit gradual phenomena such as sunset transitions or cloud movements across Miami’s sky. Incorporating foreground interest and layering elements adds depth, making your sequences more immersive. Additionally, combining slow-motion or selective focus techniques can emphasize particular aspects, creating a compelling narrative flow.
Maintaining Consistency and Efficiency During Shooting
Developing a systematic workflow ensures consistent results across multiple sessions. Before starting, double-check camera settings, battery levels, and memory card capacities. Use intervalometers to automate shot intervals, preventing gaps and overlaps. Keep detailed logs of shooting conditions, interval durations, and timestamps to easier organize footage later. During outdoor shoots, adapt to changing light conditions by adjusting exposure parameters on the fly, ensuring the sequence remains cohesive. Employing remote monitoring via Wi-Fi or cable connections allows real-time adjustments, reducing errors and missed shots.
Maximizing Post-Processing Capabilities
Post-production plays a vital role in elevating your time lapse footage. Import all image sequences into editing software, maintaining organized file structures. Stabilization plugins can smooth out minor jitters, while frame rate adjustments accelerate or slow the sequence as needed. Color correction and grading help reinforce mood—warm tones for sunset sequences or cooler hues for cityscapes at night. Consider stitching multiple sequences with smooth transitions to display different scenes or moments seamlessly. Export your video in high-resolution formats to preserve quality, especially when preparing for large displays or marketing projects.
Utilizing Professional Software for Seamless Post-Processing
Post-production is a critical phase that transforms raw image sequences into compelling time lapse videos. High-quality editing software offers a range of tools that enable videographers to enhance their footage with precision. Importing image sequences into applications such as Adobe Premiere Pro, Final Cut Pro, or dedicated time lapse editors like LRTimelapse ensures an organized workflow. Maintaining file structure consistency during import simplifies the editing process and preserves the timeline integrity.
Once imported, stabilization plugins or built-in features can significantly reduce unwanted camera jitters, achieving a smooth, professional appearance. Adjusting the frame rate allows for dynamic pacing—accelerating scenes to show rapid changes or slowing down sections for dramatic emphasis. Color correction is particularly impactful in creating mood and visual consistency; for example, enhancing sunset hues or emphasizing cooler tones during nighttime shots. Grading tools allow for nuanced adjustments, aligning the footage with the intended artistic vision.
Advanced editing software also facilitates the stitching of multiple sequences, which is especially useful for projects that span different locations or times of day. Seamless transitions between scenes can be achieved through careful editing, creating a cohesive narrative flow. Export settings are equally important—selecting high-resolution formats ensures crisp visuals, preserving detail for large displays or professional presentations. Exporting in widely compatible formats like ProRes or H.264 ensures the footage maintains quality while remaining accessible for various platforms.
Enhancing the Final Product with Sound and Effects
Adding soundtracks or ambient effects during the post-production process can elevate time lapse videos, adding emotional depth or emphasizing visual cues. Aligning the music tempo with the scene’s rhythm enhances viewer engagement and can reinforce the desired mood. Subtle effects, such as lens flares or light leaks, can introduce a creative flair, but should be used sparingly to maintain authenticity and professionalism. Ensuring the final edit adheres to project specifications and aligns with the initial vision guarantees a polished, impactful product.
Understanding the Technical Aspects of Time Lapse Videography
Achieving professional-quality time lapse videos involves mastering several technical elements that ensure smooth, visually appealing results. Key among these is understanding the importance of consistent interval settings. The interval dictates how frequently the camera captures frames, which directly influences the perceived speed of the final sequence. For scenes depicting slow-moving phenomena like clouds or traffic, longer intervals—ranging from half a second to several seconds—are appropriate to compress time effectively. Conversely, capturing fast-moving events, such as a bustling city street or construction site, benefits from shorter intervals, typically around one-tenth to one-half second, to retain fluid motion.
Stability remains a cornerstone of high-quality time lapse footage. Using a sturdy tripod or gimbal stabilizer prevents unwanted shake and jitter, preserving the clarity and professionalism of the shot. Additionally, camera settings should be optimized for the scene and lighting conditions. Manually adjusting exposure, focus, and white balance ensures consistent image quality across the entire sequence, reducing the need for extensive post-production corrections.
Temperature and environmental factors can significantly influence camera performance during extended shoots. Protective gear like rain covers or UV filters help safeguard equipment, especially when filming outdoors in varying weather conditions. Battery life management is vital; using high-capacity batteries or portable power sources enables uninterrupted shooting sessions, preventing gaps in footage that can disrupt the fluidity of the time lapse.
In advanced applications, some videographers integrate motion control rigs or motorized sliders. These tools facilitate precise camera movements—such as pans, tilts, or dolly shots—adding dynamic depth to the sequence. When combined with interval shooting, motion control expands creative possibilities, enabling the creation of complex, multi-layered visual narratives that showcase architectural transformations, urban development, or natural phenomena over time.
Choosing the Right Storage and Workflow for Large Data Sets
Time lapse videos often generate substantial data, especially when shooting in high resolution like 4K or RAW formats. Efficient workflow management and reliable storage solutions are critical to maintaining data integrity and ensuring a smooth editing process. Using fast, high-capacity SD cards or SSD drives minimizes transfer times and reduces the risk of data corruption. Organizing footage into well-structured folders with clear naming conventions simplifies post-production editing and review.
Furthermore, backing up data regularly across multiple devices or cloud storage services adds an additional layer of security against potential loss. Once the footage is securely stored, transcoding or converting raw files into editing-friendly formats like ProRes or DNxHD facilitates smoother editing workflows, particularly in professional editing software programs.
Finally, maintaining an organized editing environment—using dedicated hard drives, preview caches, and project folders—streamlines the process of assembling a seamless final product. This meticulous approach ensures that the artistic vision is preserved, and the footage retains its quality throughout every stage of post-production, from initial assembly to color grading and final export.
Techniques for Achieving Stunning Time Lapse Effects
Mastering specific techniques can significantly elevate the quality of your time lapse videos. Here are some key methods to ensure your footage captures the intended motion seamlessly and with precision.
Controlled Interval Shooting
Adjusting the interval between shots is essential to match the speed of the subject’s movement. For slow-moving subjects like clouds or sunset scenes, longer intervals—ranging from 1 to 10 seconds—are optimal. Conversely, dynamic scenes such as bustling city streets or wildlife might require shorter intervals, typically between 0.1 to 2 seconds. Precise control over interval timing ensures fluid motion and prevents choppiness or unnatural speed variations.
Manual Camera Settings
To maintain consistency throughout the shoot, it’s advisable to use manual settings for focus, aperture, and ISO. This prevents fluctuations caused by automatic adjustments, which can disrupt the cohesiveness of the final time lapse. Using manual focus is especially crucial to ensure sharpness, particularly when dealing with varying lighting conditions or long durations.
Maintaining Stable Equipment
Stability is critical; even minor camera movements can spoil the fluidity of your footage. Employ high-quality tripods, gimbals, or specialized time lapse mounts to secure your camera. For longer shoots, consider vibration dampers or stabilization rigs to counteract tremors or environmental factors such as wind.
Exposure Settings and Bracketing
Achieving balanced exposure across all frames is vital, especially in scenes with high contrast. Using manual exposure settings maintains consistency, while bracketing may be employed to blend multiple exposures for high dynamic range scenes. Properly exposing each shot prevents flickering and ensures smooth transitions in the final video.
Utilizing Intervalometers and Remote Triggers
Remote trigger devices or intervalometers automate the shooting process, reducing the risk of camera shake and allowing for precise timing. These tools are especially beneficial for extended time lapse projects, enabling continuous operation without constant manual intervention, which minimizes interruptions and ensures comprehensive coverage of persistent scenes.
Implementing these techniques diligently enhances your ability to produce professional-grade time lapse videos that capture the essence of change over time with clarity and impact.
Color Grading and Final Touches
Post-production plays a crucial role in refining your time lapse footage. Adjusting color balance, contrast, and sharpness can help unify the visual tone and emphasize specific elements within the scene. Color grading also allows for mood enhancement, whether aiming for a warm sunset glow or a cool urban nightscape. Applying subtle effects and transitions during editing can further elevate the visual storytelling aspect of your project.
By carefully implementing these strategies, videographers can craft captivating narratives that vividly depict the passage of time, transforming ordinary scenes into mesmerizing visual experiences.
Finalizing and Showcasing Your Time Lapse Videography Work
Once the editing process is complete, the final step involves effectively showcasing your time lapse video to reach your target audience and maximize its impact. Proper presentation can significantly enhance viewer engagement and open avenues for opportunities in various industries such as real estate, construction, tourism, and event documentation.
Optimizing Video Formats and Resolution
Choosing the appropriate video formats and resolution settings ensures your time lapse footage retains its quality across different platforms. Export your videos in high-quality formats such as H.264 or H.265, which balance resolution and file size effectively. Consider rendering your footage in 4K or higher resolution if your original footage allows, as this enhances clarity and detail, making the video more appealing on large displays.
Strategic Distribution Channels
- Website Integration: Embedding videos directly into your website, such as through a dedicated portfolio or project page, allows visitors to easily view your work and understand your expertise.
- Social Media Platforms: Platforms like Instagram, Facebook, Vimeo, and YouTube are ideal for sharing your time lapse videos. Tailor your uploads to each platform's specifications to ensure optimal playback quality and viewer engagement.
- Industry Events and Presentations: Use your videos during client presentations, industry trade shows, or local community events to demonstrate your capabilities and attract potential clients or collaborators.
Leveraging Video Analytics and Feedback
Monitoring how viewers interact with your videos provides valuable insights for future projects. Utilize platform analytics tools to assess viewing duration, engagement rates, and audience demographics. Gathering feedback from viewers and clients helps refine your techniques and identify new creative directions, ensuring your future time lapse projects resonate well with target audiences.
Building a Portfolio and Marketing Your Skills
Include your best time lapse projects in a professional portfolio, both online and offline. An organized portfolio demonstrates your range and technical expertise, helping attract clients seeking high-quality videography services. Coupling your portfolio with targeted marketing efforts, such as SEO-optimized descriptions and keyword integration, increases visibility to potential clients searching for time lapse videography in Miami and beyond.
By meticulously finalizing and strategically sharing your time lapse videos, you can build a strong reputation and open new avenues for creative and commercial success. Continuous improvement, understanding audience preferences, and maintaining high production standards are essential elements that foster growth in the competitive realm of time lapse videography.